
MicroPython in Docker Containers
You know how to run MicroPython on hardware, but what if you don't have a microcontroller lying around? That's where Docker comes in!

Why?
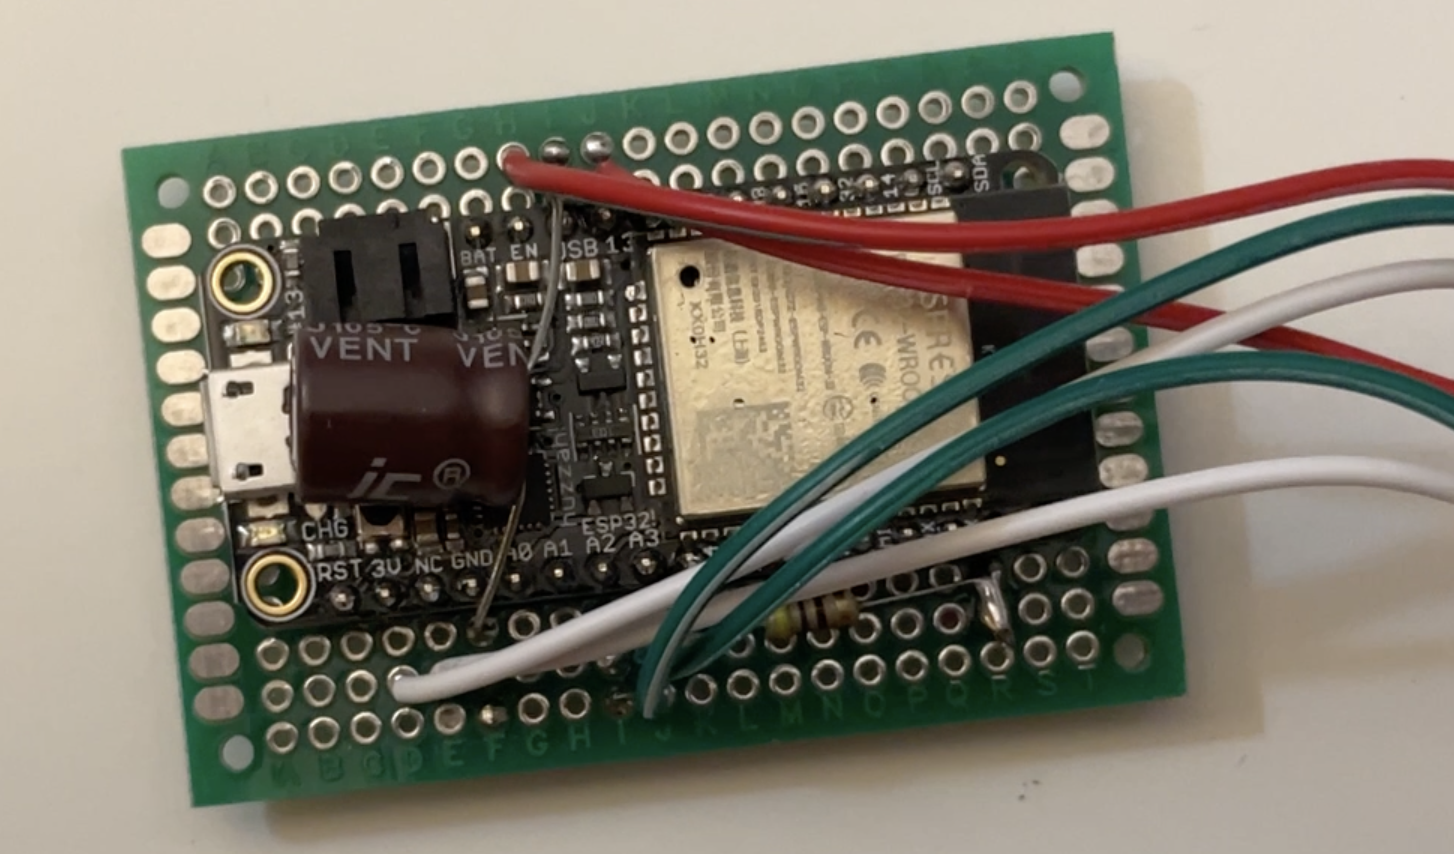
You know how to run MicroPython code on awesome hardware like the ESP32 (if not, then read/watch this tutorial). But what if you want to write new code and you don't have a microcontroller lying around? Or what if you need to prototype a new project, but don't want to break open your beautiful existing project just to get access to its internal microcontroller?
There are other reasons too - maybe you're writing a library and want to quickly ensure compatibility with several MicroPython versions. Or you want to add unit testing to your project, but want to run these tests on your computer instead of on a microcontroller. We'll look into these use cases too, later in this tutorial.
As you may know, MicroPython has been ported to many platforms like the Raspberry Pi Pico, ESP32, and nRF52, to name a few. What you might not know is that it has a unix port as well! This means you can run it on a unix-like operating system such as Linux. But what to do if you're running Windows on your computer? Read on or watch the video to find out!
1. Creating the Docker container
This is where Docker comes in! In addition to being a cute whale, Docker gives us the ability to run lightweight virtual machines, in which we can install any OS and run the the unix port of MicroPython. Fret not, though - we won't have to manually install an OS or the MicroPython port ourselves. That work has already been done for us by the awesome Matt Trentini.
First, of course, you need to install Docker - it's a simple install. After that, we need to pull the micropython/unix image from DockerHub. When you're on that page, you'll notice there are various tagged releases of MicroPython to choose from:
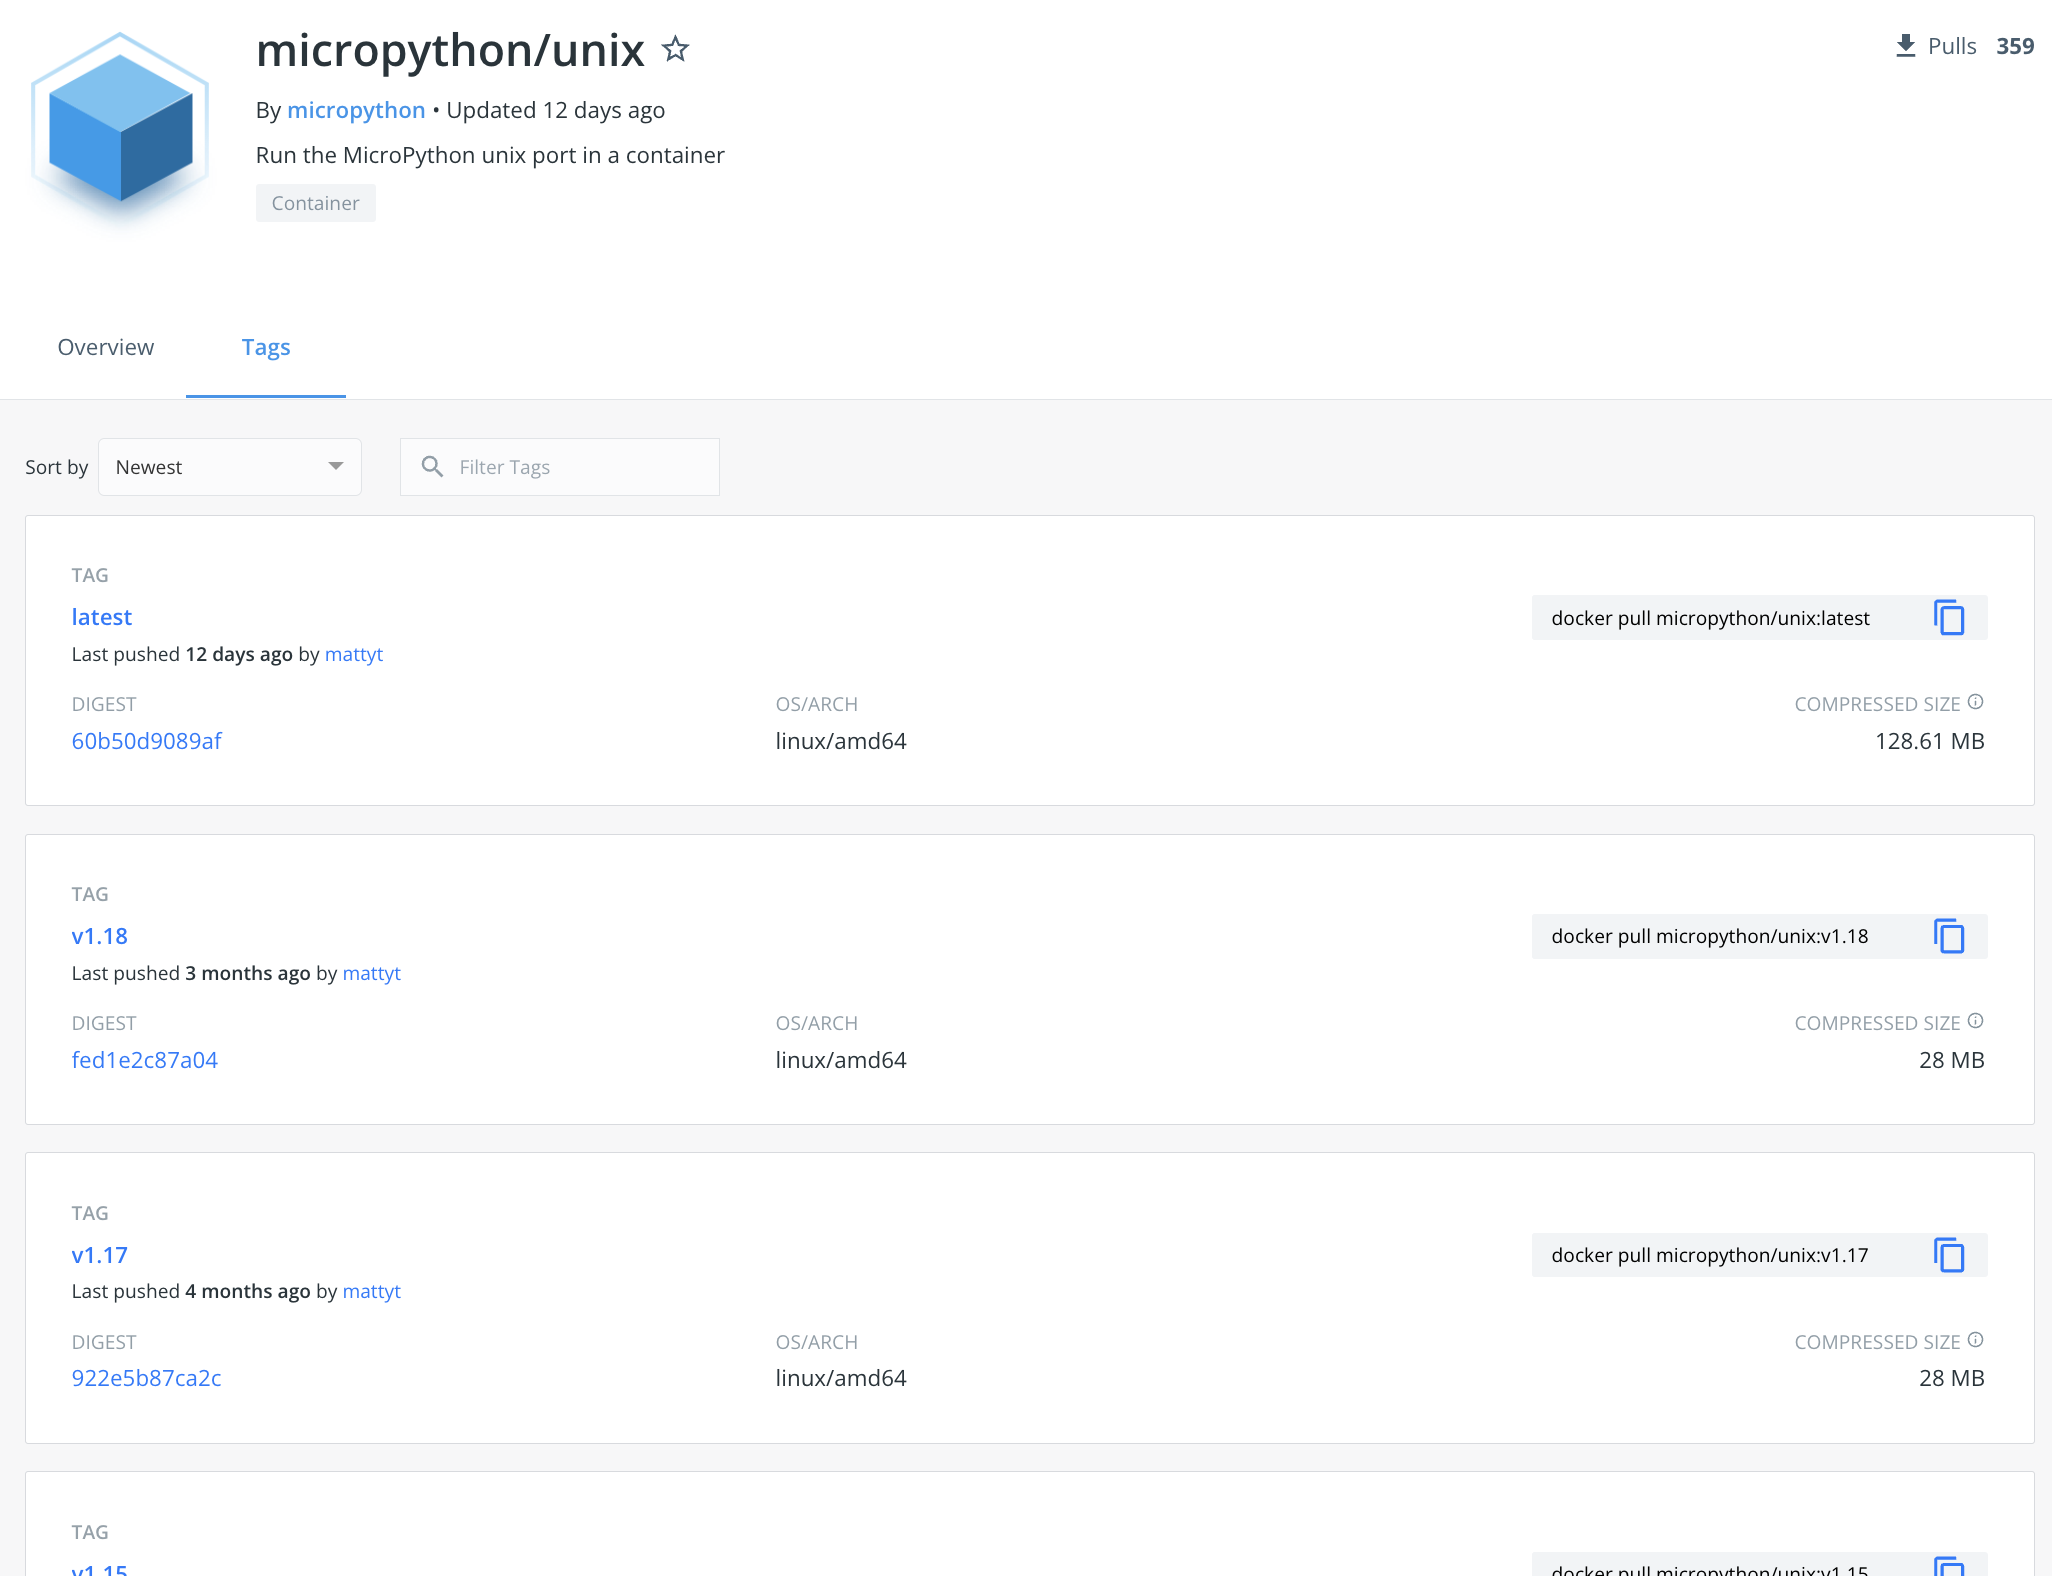
So many to choose from! This is where we see the 2nd benefit of running MicroPython in a container - we can test against different versions of MicroPython. This can be useful if you're writing a library and want to check if it's compatible with older MicroPython versions.
Let's say you want to pull a specific version like v1.18. You can do that using Docker's command-line tool. It will automatically download all the necessary dependencies and build this Docker image. Try the command below, replacing the version number with the one you need:
> docker pull micropython/unix:v1.18

v1.18: Pulling from micropython/unix
778066204fb7: Pull complete
2f29a06fa4b5: Pull complete
4f4fb700ef54: Pull complete
Digest: sha256:cf69287d42d0619853f0f1f96a3c079236820005071187cd69eede6255a055bd
Status: Downloaded newer image for micropython/unix:v1.18
docker.io/micropython/unix:v1.18
Now that you have built the image, you can use it to spawn one or more Docker containers. Let's spin up a container for v1.18:
> docker run -it --name micropython-1.18 --network=host --mount type=bind,source=/Users/bhav/Code,target=/home --entrypoint bash micropython/unix:v1.18

root@docker-desktop:/home# <type commands here>
Wow, that is a heck-of-a long command! Let's break it down:
- docker run is the command to create a container and run a process in it.
- The -it flags provide an interface for us to type commands into.
- The --name flag is used to give a nice, memorable name to the container. You can name it anything, such as "i-love-potato".
- The --network=host setting gives the container access to your computer's network. This is very useful when writing MicroPython code that interacts with your home network or with the internet.
- The --mount flag allows us to share a specific folder on our computer with the container. In this case, I am mounting my folder named Code into the container's /home folder, so that I can run my code from there.
- The --entrypoint flag specifies which command to run when the container starts. I want to run the bash shell right away so that I can type in commands.
- Lastly, we type in the name of the Docker image from which this container should be built. Replace the version number with the one you need.
And with that, our Docker container has been created! Let's play around in it. PS: you may want to save that command snippet for future use, unless you really enjoy typing out these kinds of commands manually to impress your friends.
2. Running MicroPython programs
To write some MicroPython, start the REPL by running micropython-dev.
root@docker-desktop:/home# micropython-dev

MicroPython v1.18 on 2022-01-17;; linux version
Use Ctrl-D to exit, Ctrl-E for paste mode
>>> print('i love potato')
i love potato
>>>It worked! At this point, this doesn't look too different from a regular Python REPL, though. So let's try to run an actual program from our /home folder. Below is a simple script that you can use - copy it into a file named main.py in your computer's source folder that you mounted (in my case, this was /Users/bhav/Code).
import urequests

resp = urequests.get('http://icanhazip.com')
print(resp.text)
Since this folder is mounted/shared to your Docker container, you should be able to see your new file using the command line in your container:
root@docker-desktop:/home# ls
...
main.py
...

root@docker-desktop:/home# cat main.py
import urequests

resp = urequests.get('http://icanhazip.com')
print(resp.text)
Great! If the file is not visible to you, make sure that your file is in the right folder and that you used the --mount flag correctly back when we were creating the Docker container.
Let's try to run it! But wait - didn't you learn not to run strange code from the internet without knowing what it does? Hmm? Luckily for you, I'm a nice human and I will explain it. The code sends an HTTP GET request to the icanhazip service, which sends back a single line of text representing your computer's IP address. The code then prints that to the screen - that's it! It's a great way to check if your Docker container's network is properly set up.
OK, enough talk - let's actually run it this time:
root@docker-desktop:/home# micropython-dev main.py

Traceback (most recent call last):
  File "main.py", line 1, in <module>
ImportError: no module named 'urequests'3. Downloading packages using upip
Wow...it literally crashed on the very first line of code. Which brings me to the 3rd benefit of running MicroPython in Docker - you can run tests and catch errors without needing to flash your hardware project! Testing can take the form of unit tests (helpful in more complex projects), or just manual testing as we are doing here. But what do we do about this ImportError that we just saw?
No worries, we'll just pip install the missing module...right? Right? Actually, pip doesn't exist in MicroPython - but there is a similar tool named upip! It's not nearly as fully-featured as pip - in fact, all it does is download packages and not much else. But it is certainly more convenient than having to scour Github to find every single MicroPython package we might need, and downloading their source files into our project folder each time.
So let's use upip to grab the urequests package and run our code again:
root@docker-desktop:/home# micropython-dev -m upip install urequests

Installing to: /root/.micropython/lib/
Warning: micropython.org SSL certificate is not validated
Installing urequests 0.6 from https://micropython.org/pi/urequests/urequests-0.6.tar.gz

root@docker-desktop:/home# micropython-dev main.py

C3.N5.0R.3DIf everything went well, you should see your computer's IP address output by the script. If not, check that you correctly used the --network=host flag when creating the Docker container earlier.
4. Conclusion
The unix port of MicroPython is great for prototyping and testing code without needing real hardware. If you're on a Windows computer (or any computer really), you can run this port inside a Docker container. You can also download new MicroPython packages using upip, and you can spin up multiple Docker containers to test your code against different versions of MicroPython (say, if you need to ensure backwards compatibility).
I hope this tutorial enlightened you and added a new tool to your belt! If you'd like to know when I write my next MicroPython tutorial, click Follow/Subscribe below and I'll email it to you when it's ready ? If you prefer videos, you can follow my youtube channel instead.
If you'd like to ask me anything or just chat, hit me up on twitter! Until next time - Sayonara!